
***OCS Glamour***
Our Crafting Process
At OCS Glamour, all of our rings are custom and made-to-order. This means your ring is made uniquely for you, designed to perfectly suit your needs. You can rest assured knowing your engagement ring is brought to life by expert hands with sustainable and eco-friendly materials.

The Production Process
Your ring will progress through a number of stages across eight to ten Days of production. Outlined below are the major steps in the crafting process.
Stage 1: Casting
To begin, our jeweller will print out your custom design into a wax mould. A plaster-like substance called the “investment” is then poured over the mould and, once dry, is baked. The wax melts and runs out of the mould, leaving a perfect imprint of your ring.
Your precious metal of choice, in liquid form, is poured into the plaster mould. Once cooled, we have a metal cast of your design!
Did You Know?
Casting is the gold standard in modern jewellery production with more than 95% of engagement rings now made using this process. The ‘lost wax process’ used in casting has been developed over the last four thousand years and has been refined to produce reliable, beautiful results every time. Instead of relying on an artist’s eye or interpretation of your design, the casting process ensures each ring is created with absolute accuracy.
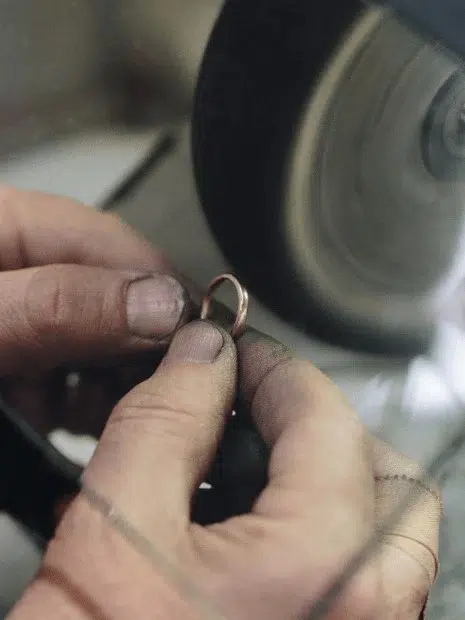
Stage 2: Polishing
Your ring shape is refined and polished to bring it to a shiny mirror finish. This is achieved by using a polishing wheel and buffing compound which transforms the ring from dull and rough to a sparkling smooth surface.
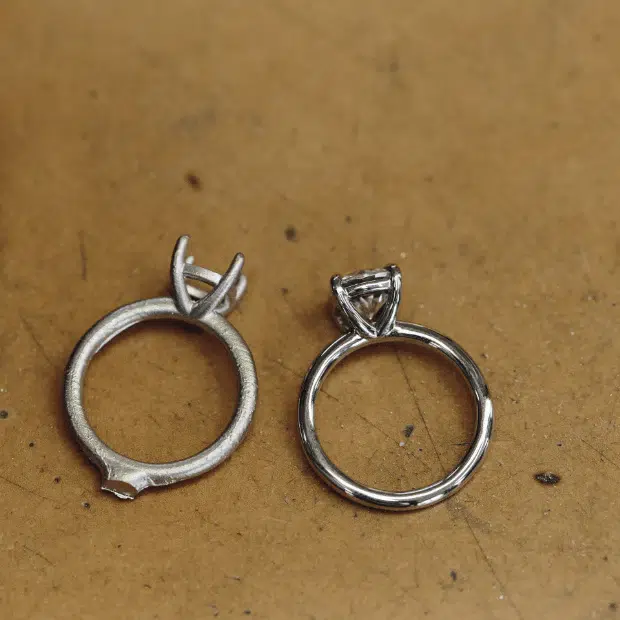
A ring’s setting is usually made in two pieces so it can be polished perfectly.
After the ring has been polished, the claws are attached and our jeweller will carefully solder the setting onto the band. By melting a thin piece of gold under a blowtorch, the two pieces are held together and securely fixed.
Did You Know?
When a setting is connected to the band, it is not simply placed on the top of the band. For added strength, a square pin comes out of the bottom of the setting and slots perfectly into the band to ensure the strongest possible connection.
Stage 3: Stone Setting
Setting is the process of having stones fastened in your ring. Since we want your stones to stay secure in their setting for a lifetime, this is arguably the most important part of the process!
Step 1: Prepare the Seat
If your ring has side stones or a hidden halo, the first step is to prepare a ‘seat’ for the stones to sit down in. This is accomplished by using a special drill to bore holes into the setting, creating space for each stone to sit securely in the band.
Step 2: Create the Gallery
Once the holes have been drilled, another drilling tool is used to create a ‘gallery’ which allows light to enter the stone from the sides. The gallery includes the basket and stems that connect the prongs on your ring and is important for optimising the sparkle of each stone.
Step 3: Setting the Accent Stones
Next comes the exciting part: setting the stones! Each stone in your ring must be pressed down into its own individual ‘seat’. Our setter uses a special tool to transform each of the remaining pieces of metal into claws which are then pressed over each stone one by one (each stone will have 4 claws holding it in place).
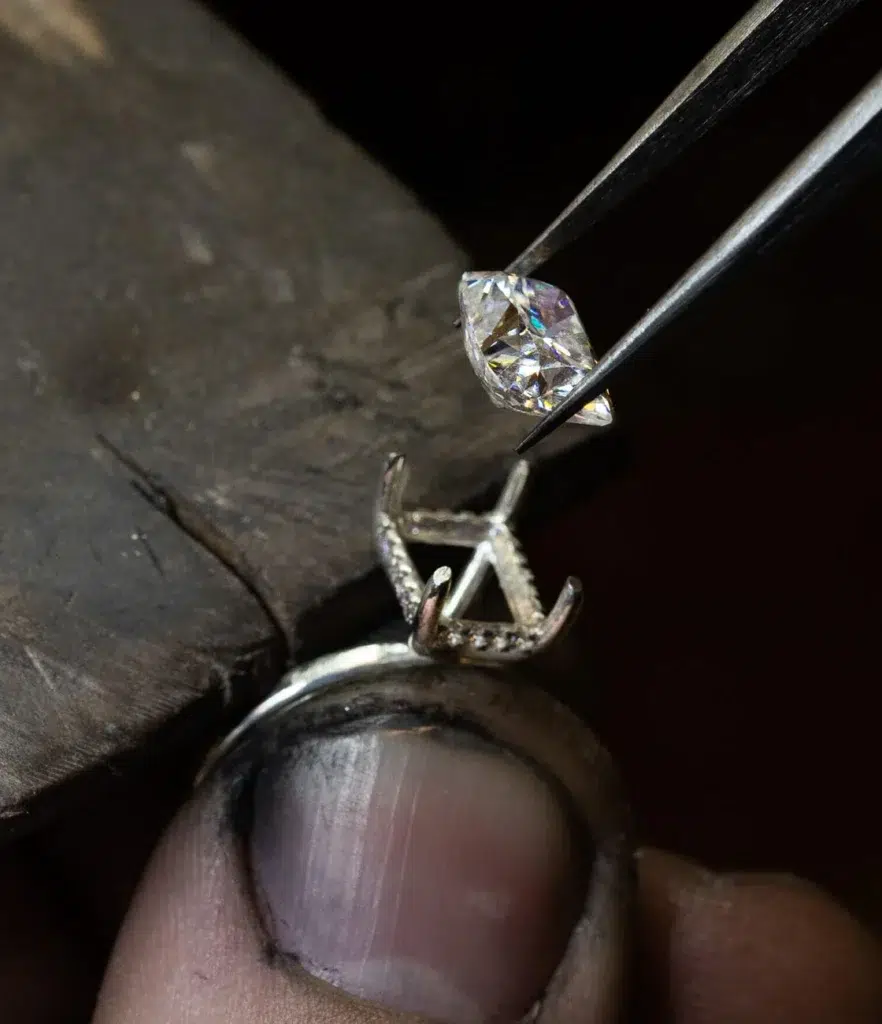
Step 4: Setting the Center Stone
After the side stones and the hidden halo have been set, the last job is to set the center stone. As the most valuable stone in your ring, setting this stone securely is an extremely important step in your ring’s production, especially when it is also the stone subject to the most wear and tear.
Did You Know?
To ensure your center stone fits tightly within the setting, every moissanite or lab grown diamond has a flat part running around the outside of the stone called a ‘girdle’. Although hard to see with the naked eye, the girdle allows your stone to be set securely in the ring’s claws. Our setter uses a special drilling tool called a ‘bur’ to create a groove in each claw, just large enough to fit the girdle of the stone. Once firmly seated in these grooves, the setter will bend the claws over the top of your stone and use a file to shape the claws into the desired look.
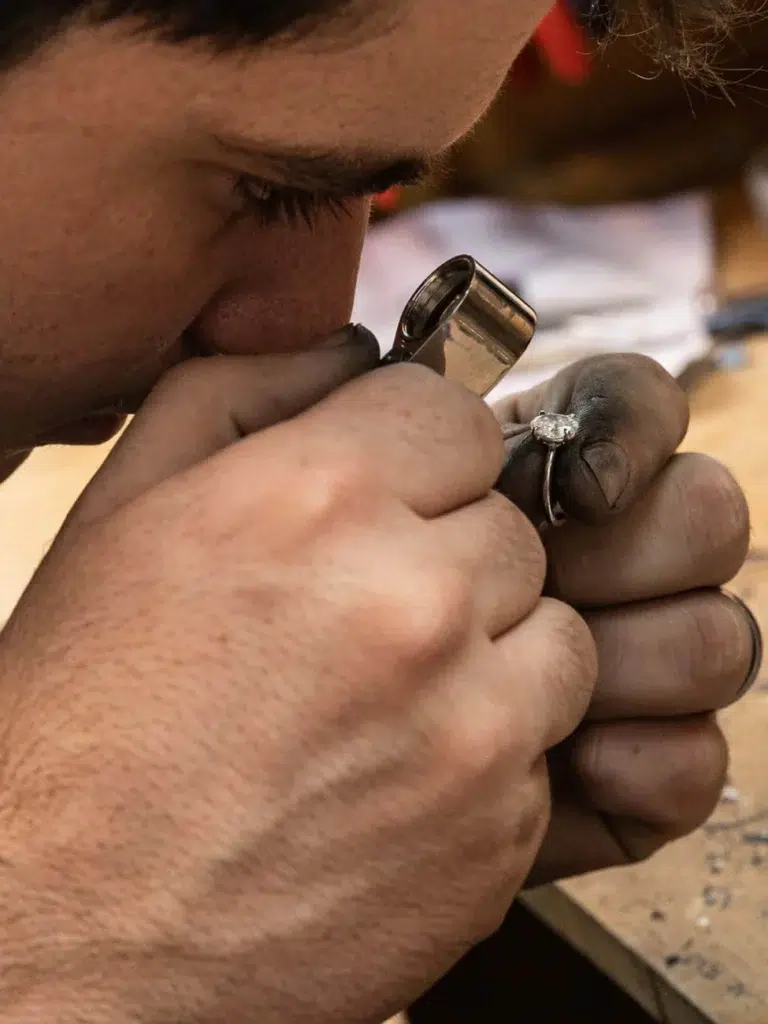
Stage 4: The Final Touches
In this stage, your ring will receive a final polish and rhodium plate. It will also undergo our stringent quality control testing. The final polish will enhance the shine of your ring’s metal and ensure your stones are clean, bright and sparkly.
If your ring features white gold, it will receive a rhodium plate. Rhodium is a silver-hued, highly reflective metal that is added to all white gold rings to remove the natural, yellowish hue of white gold and replace it with an ultra-white colour. Rhodium plating is important as it not only gives your ring a smooth, shiny finish but also adds durability and a higher scratch resistance.
And voila! Your ring is complete.